How to Do the Ultimate Facial at Home for Glowing Skin!

I only recommend products I love and I think you will, too. If you click on links I provide, I may receive a little compensation. Learn more.
Warning: Major glow ahead!
Ever stared at the mirror wishing for that radiant glow all the celebs seem to effortlessly flaunt? Want to pamper your skin with the ultimate facial, but not quite ready to splurge on pricey spa treatments? I got you covered, darling!
In today’s post, I’ll lift the veil on doing the ultimate facial at home for that enviable, glowing skin. Are you ready to unleash the skincare aficionado within and get that fresh-from-the-spa glow without breaking the bank?
Keep reading, babe, ’cause we’re about to dive into a world of luxurious self-care right in the cozy comfort of your home!
How to do facial at home for glowing skin
Things you need for at home facial –
- Makeup remover
- Any non-comedogenic oil you like
- Face wash/cleanser that suits your skin type
- Exfoliating scrub
- A steamer or a pot and towel
- Blackhead remover
- Face pack that suits your skin type
- Toner
- Moisturizer
- Cotton pads
What are the steps involved in doing a facial at home for glowing skin?
1. First, Cleansing

To kick off your skincare journey, start by creating a smooth, clean canvas for all those amazing products to work their magic. You’ll want to deep-clean your skin before anything else, as a thorough cleanse is the foundation of any skincare routine.
Here’s the plan: double-cleanse your skin to be squeaky clean! First, grab a cotton pad and your favorite makeup remover to wipe away dirt, makeup, and grime. See your face shedding the day’s troubles like an art project gone wrong.
Next, pour a little cleansing oil onto your palms, rub it, and gently massage that liquid gold all over your face. This not only feels like a mini spa treatment, but also helps dissolve any remaining dirt, makeup, and sebum, your body’s natural oil.
Finally, bring out the big guns with a face cleanser that suits your skin type, giving your face one more cleansing round. Lo and behold, your skin will feel super fresh and free from any lingering skin enemies!
2. Steam your face

Time to get your steam on! Boil some water, pour it into a bowl, and let your face bask in the steamy goodness for 5-10 minutes. You can even toss in some dried herbs (like lavender or chamomile) for an extra touch of luxury.
Steaming helps open up your pores and enhance the absorption of following skincare products. Plus, it’s oh-so-relaxing!
Now that your skin is soft and supple from the steam, it’s time to tackle those pesky blackheads and whiteheads.
3. Then, Exfoliate

With your skin soft, gunk out, and pores open, you’re all set for an amazing scrubbing session.
Pick your favorite exfoliator (our top recs: a chemical or gentle physical exfoliant) and softly massage it onto your skin. This step will help clear out those pesky pores and promote cell renewal, making your skin look smooth and glamorous.
If you’re using a physical exfoliator, take a pea-sized amount of your chosen scrub (DIY or store-bought) and gently rub it in circular motions all over your face for 2-3 minutes. Give extra attention to your nose and chin, as these areas are prone to blackheads and whiteheads.
If you’re using a chemical exfoliator, leave it on the skin for no more than 10 minutes. Also, all the next steps don’t apply when you use a chemical peel. Check out what to use after a chemical exfoliator here instead!
4. Woohoo, Face pack!

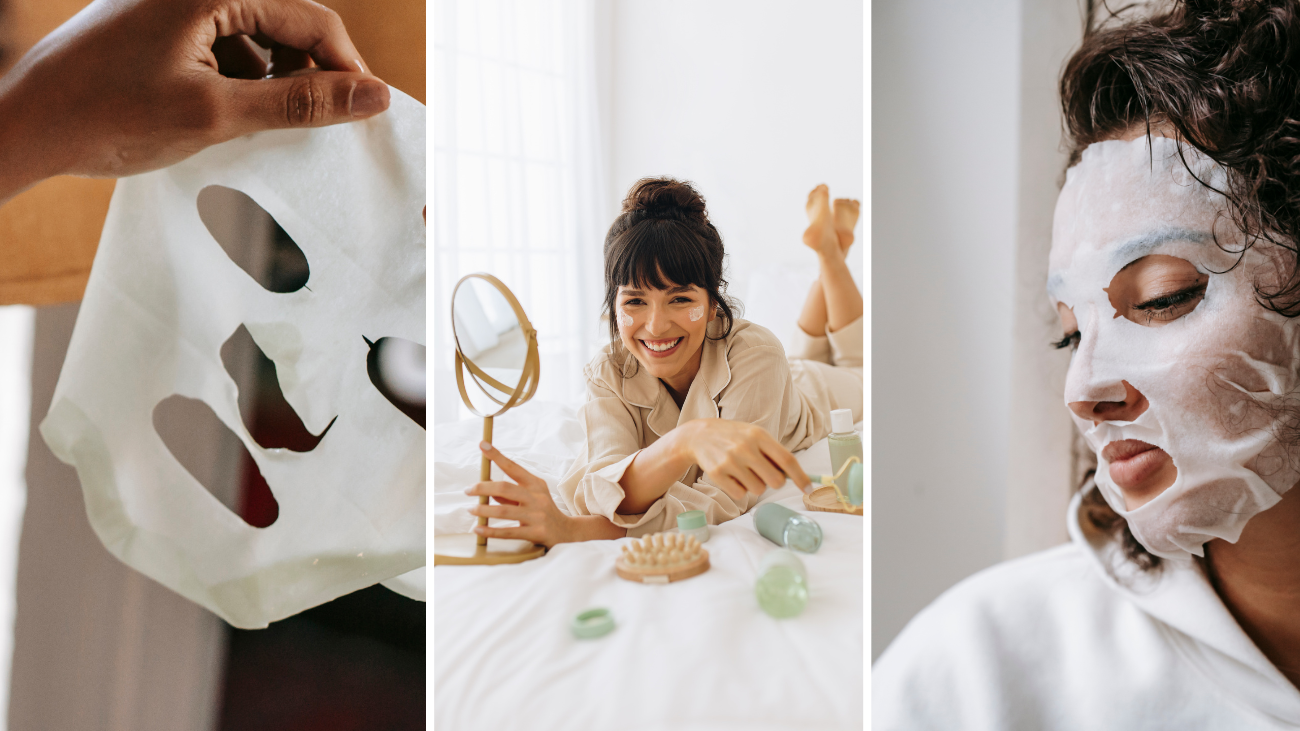
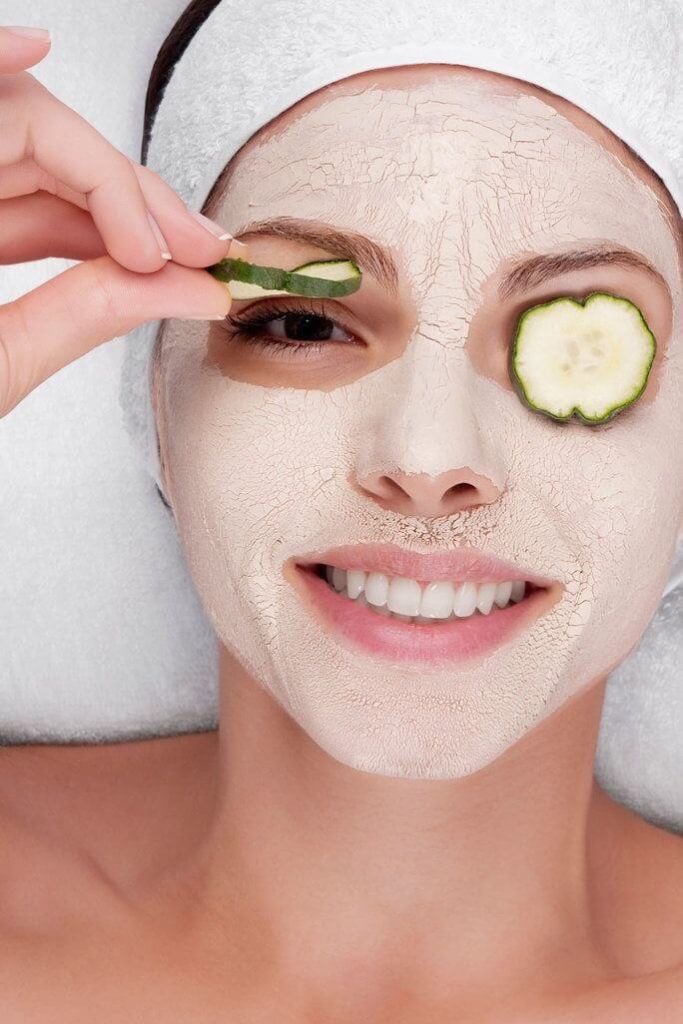
Now that your pores are open wide, it’s time to pamper your skin with a nourishing face mask. Whether you’re going for a hydrating sheet mask, a clay-based pore cleaner, or a homemade concoction, slather it on and let the magic happen.
Keep in mind, though, that 15-20 minutes is the perfect timeframe for these fabulous masks. Any longer, and you’d risk drying out your skin – and nobody wants that!
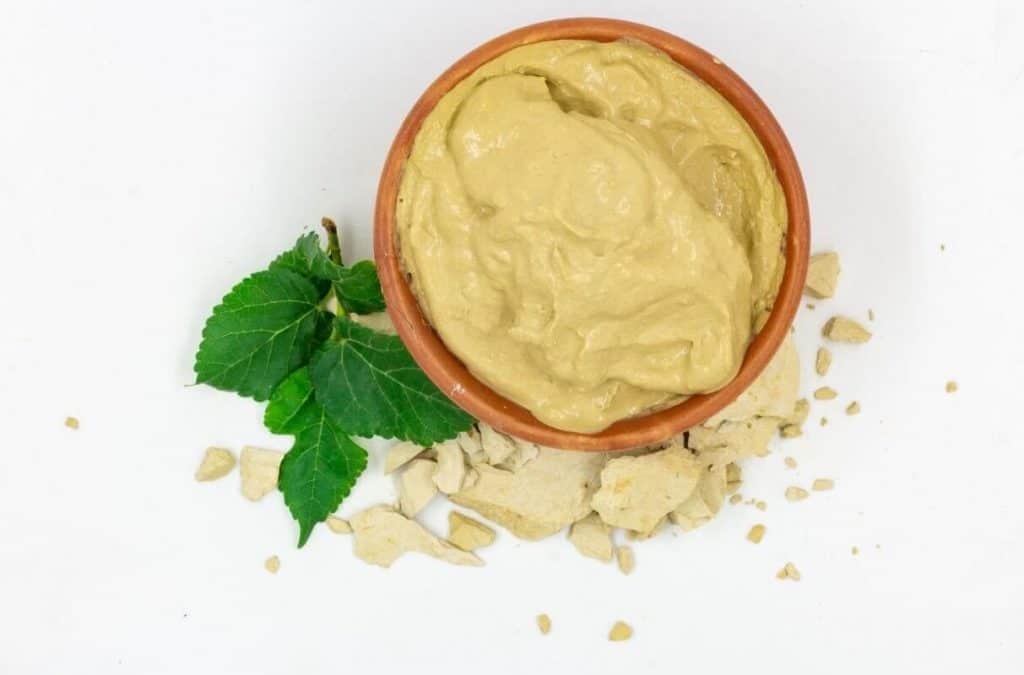
Kick back, relax and let those skin-loving ingredients work their wonders! My absolute go-to face pack has to be the Aztec Indian Healing Clay Mask. It works wonders on my skin!
5. Seal the Deal

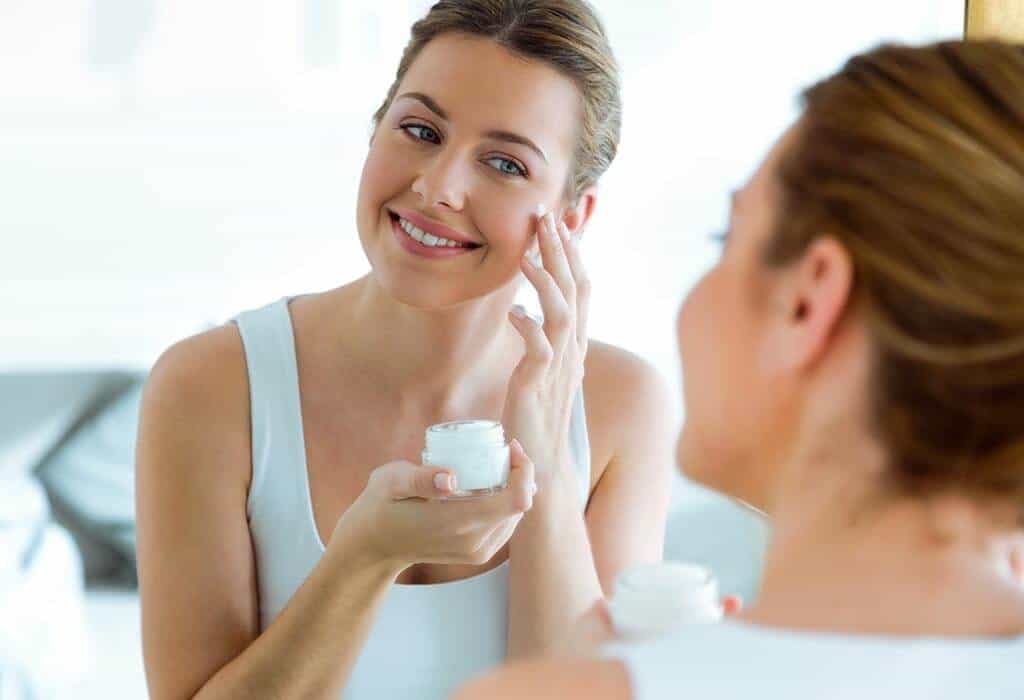
Time to wrap up your at-home facial with a nourishing serum, moisturizer, and (if it’s daytime) sunscreen. These products will lock in all the goodness from your facial sesh and keep your skin feeling oh-so-happy.
It doesn’t matter whether your skin type is oily or dry; you always need to choose the perfect moisturizer that suits your skin.
- If you have oily skin, a water or gel-based moisturizer is your best friend.
- For dry-skinned folks, go for creamier moisturizers that hydrate and nourish.
Here’s a fun way to properly moisturize for that power-packed instant glow:
- Scoop a generous blob of moisturizer with your fingers.
- Gently massage it into your skin using circular motions for about 2-3 minutes. Feel the relaxation and happiness sink in!
- Now, shape your hands into loose fists and give yourself a fabulous massage on your cheekbones, jawline, nose, and everywhere else. This not only calms your skin but also increases blood circulation for that sought-after glow.
How to do a facial at home with natural ingredients?

Now that you know all the steps to facials at home, it’s time for you to know how you can do this with all the things kept in your kitchen. So run to your kitchen and prep all these things before you start your face clean up so that you don’t have to get up every time and can have the time of your life!
1. Homemade cleanser
Here are different types of cleanser recipes according to your skin types;
- For normal to dry skin – Honey+cream
- For oily to combination skin – Honey + Lemon
- For sensitive skin – Raw honey
For natural oil cleansers/makeup removers/ you could find amazing DIY recipes here.
2. DIY Exfoliation
To make effective scrubs, keep in mind that the particles should not be big enough to harm your skin. Minute granules will work the same as well.
- For oily to combination skin – Mix equal parts of oatmeal + honey + yogurt or Mix equal parts of coffee (the granular version) with yogurt
- For normal to dry skin – mix 1 tbs of coconut oil and 2 tbs of sugar or equal proportions of oatmeal and honey
- For sensitive skin – mix oatmeal and banana in equal parts or Coffee with yogurt
3. Homemade face packs
You can literally mix any 2-3 ingredients you love and create a face pack out of it. The one I love using are:
- 1 tbsp gram flour + pinch of turmeric + 1 tbsp of yoghurt
- 1 tbsp sandalwood powder + 1 tbsp fuller’s earth ( multani mitti ) + 1/2 tbsp honey + 1-1/2 tbsp yoghurt
- 1 tbsp lemon juice + 1 tbsp honey + egg white
- 1 tbsp mashed banana + 1/2 tbsps rice powder + 1 tbsp yoghurt
4. Natural toner
There are tons of options to consider if you want to make a nice DIY homemade toner for yourself. Some of my favorite ones are these. All these options work best for any skin type, so don’t worry about that!
- Rosewater (the best )
- Cucumber juice
- Green tea
- Lemon juice + water (equal parts)
- Chamomile tea
- Aloe vera gel + water (in 1:3 ratio)
- Diluted Apple cider vinegar (equal parts)
- Rubbing ice
And there you go, healthy glowing skin just with an easy face clean up at home!
FAQ’s
What are the benefits of an At home-face clean up?
From countless benefits of having a face clean up regularly, the important ones are
- It improves the blood circulation to your face and adds an instant glow
- Improves the texture of your skin
- Makes the skin squeaky clean and bright
- Eliminates all the blackheads and whiteheads from your face
- Leaves your skin smooth and healthy
- Keeps your skin hydrated and nourished
How often should you do a face clean up?
For the utmost best results, face clean-ups must be done every two weeks or twice a month at least to see some gorgeous results. All you need is an hour a month to yourself!
What is the difference between a facial and a cleanup?
There’s not much difference between a facial and clean up since a facial includes everything a face clean up does but with a full facial and sometimes body massage. Also, facials take an hour and a half for the complete process instead of 30-45 minutes with clean-up. Not forgetting, results from facials do last a little longer than regular cleanups.
When should you start wearing makeup after a face clean up?
A time gap of 24 hours is ideal between a clean up and wearing makeup. Because your skin is soft, sensitive and extremely clean after cleanup so applying makeup instantly will rather clog your pores, causing acne.
Wrapping up – facial at home for glowing skin
And there you have it, beautiful! A step-by-step guide to nailing the ultimate facial at home and blessing your skin with that irresistible glow. It’s time to bid adieu to dull skin and say hello to a radiant new you!
Remember, consistency is key, so make sure to pamper yourself regularly with this fabulous routine.
Plus, don’t forget to share this guide with your besties, so they too, can bask in the glow of their best skin ever. Like they say, sharing is caring, after all! Now, go forth and glow, you gorgeous thing!

